No, my friends, this is NOT a reference to mid-nineties popular culture.

These biscuits are called "Whatever" biscuits because you can put whatever you want in them! In this case, it involved walnuts, dates, apricots, sultanas and glace ginger. These truly are one you can use to empty the dregs of the pantry.
I'm home. I truly am home. This is the Holy Grail of baking for me. This is what I've been searching for. A recipe that I can throw together, off the top of my head, and that will turn out just fine. As we speak I am waiting for them to cool enough for me to determine whether they fit the bill, but I suspect they will. THANKYOU, CWA!!! (FYI, the recipe is from the CWA's "biscuits and slices" book, which is nice and compact and well presented and makes a great gift - thanks again, Jordana!)
INGREDIENTS:
110g butter
1/2c sugar
1 egg
1c SR flour
1c "whatever"
And that's it! How easy is that to remember! Almost as easy as pav (4 egg whites, 1c castor sugar, 1tbsp cornflour, 1tsp white vinegar)! Where there's a pattern, I remember. For this one, you bake them at 180oC for 10-15 mins. Cream butter and sugar, mix in egg, then sifted flour and "whatever".
The end.

Yum.
PS - Om nom nom. They turned out just fine! Some of one tray turned out ugly, so I had to eat them to destroy any evidence that points towards anything less than total baking prowess. So I suggest making sure they're well spaced on the tray.
PPS - The recipe really DID make twenty! This is a landmark event! Okay, actually, it made nineteen, but I snuck a bit of the dough every now and then, just to make sure it wasn't poisoned...
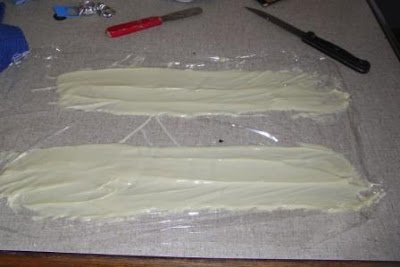 But, being impatient, I decided to pull a frozen baking tray out of the freezer (I had put two in there, unsure as to how many I would need for my chocolate curls) and slid the gladwrap onto it to speed things up. And then I put it in the freezer to speed it up more. How unlike me...
 Next, I cut the chocolate into unevenly-sized slabs with my trusty metal paint scraper. This worked well because I took the chocolate out of the freezer while it was still ever so slightly pliable. Once cut, I peeled the slabs off the gladwrap, popped them back on the cold tray and put them back in the freezer to finish setting. When it came to applying them, I cut some of the bigger ones in half across the middle to get two shorter pieces that could be turned on their sides, and also trimmed the bottoms so they'd sit flat.
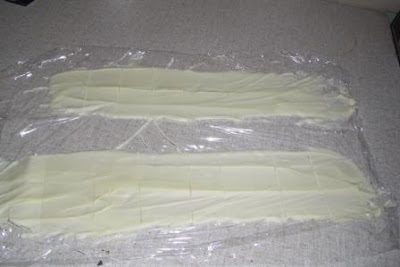 Then, I applied another layer of ganache to the cake (oh yeah. I did that for the previous cake too but I forgot to mention it, and now I CBF editing the post) and glued the white chocolate slabs onto the sides of the cake using more ganache.
  The next step was to pour a bag of M&Ms over the cake and press them down gently to make them stick. I usedthe mixed ones, which I suspect improves the overall look because the randommness of M&M sizes goes with the randomness of the chocolate height around the edge. One normal bag is just enough. I only ate two of them. Are you proud? :)
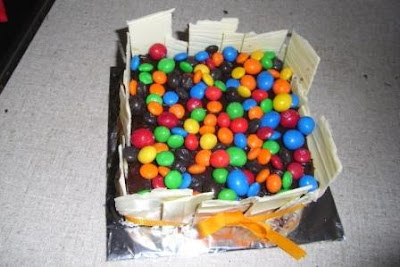
 So there you have it. I Really Am That Good. And I bet your fridge isn't filled with as much deliciousness as mine is, either.

 Get your hands on some shortening. This stuff strikes fear in my heart - solid vegetable fat. But not so much as its friends sitting adjacent to it on the shelf at the supermarket - solid animal fat, and lard. Anyway, the point is, Pioneer Woman's
  Small segue: You know what happened today? I discovered the redeeming feature of electric cooktops - you can melt chocolate on a double boiler and hold onto the bowl with a potholder with no fear at all of it catching on fire. Finally! I KNEW there must be something good about them!
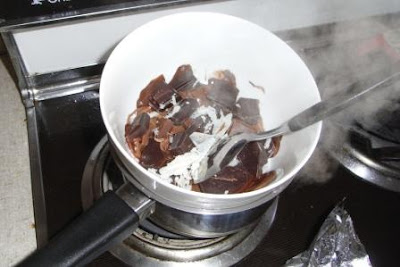
 Spread the melted chocolate over the tray. I then popped the tray in the freezer to cool it a little faster (I'm impatient). I wanted it to be not quite set, so it was still soft enough to handle but hard enough to curl as I applied the scraper.
 And THIS is my FIRST EVER CHOCOLATE CURL!!! I'm so proud :) I'm glad I could share it with you. I'm also glad that the dirt under my fingernails is not dirt at all, but pure, unadulterated chocolate.
  Here's a (really badly over-exposed photo of a) bowl o' chocolate curls. The success was a little variable because some of the chocolate didn't seem to be as set as other bits. Also, hot tip, give the blade a good wipe between each curl, otherwise it'll stick to the next curl. I also found that at the start of each curl, gently coaxing it to fold over with your fingers can help. And, try to hold the blade of the paint scraper (or whatever tool you chose to use - I'm sure you could do it with the side of a metal ruler if it's all you had!) on a 45 degree angle from the tray.
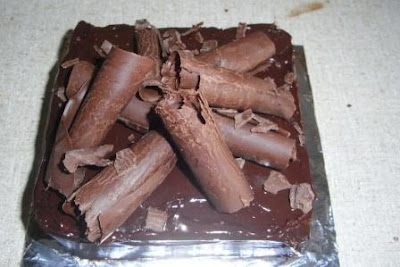 Finally, bask in the fact that you are a cake-decorating prodigy. For now...
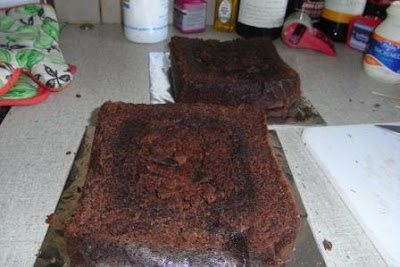
 And this is what happens when you apply heat and add the better part of a cup of coffee.
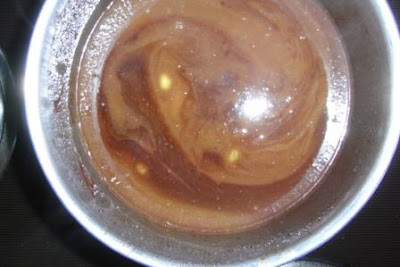
 Please feel free to take the time to admire my very good looking Le Creuset mixing bowls. I know, we've established before that I'm a bit of a freak about things like this.
 Mix it all up (melt everything up to the coffee; cool. Sift dry ingredients into big bowl. Mix wet ingredients in smaller bowl and add to dry ingredients in big bowl. Add chocolate mixture in 3 batches and bake it in a deep 23-24cm greased and lined tin at 160oC for about an hour and 15 to an hour and 30).
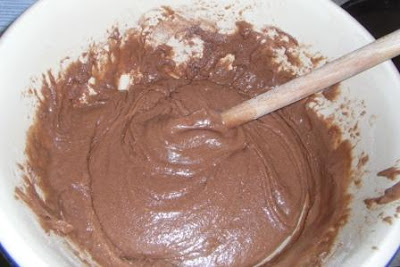 ...but this is what it looks like AFTERWARDS. Yummm.
